
JOURNAL COVER AND PAGES
MATERIALS NEEDED:
A4 paper/card
Glue
Scissors
Ruler
Paper clips/binder clips
Awl (or something similar to make holes in the papers and cover)
Waxed thread, twine or other strong thread
Needle large enough to thread with the string
Ink pad (optional)
METHOD:
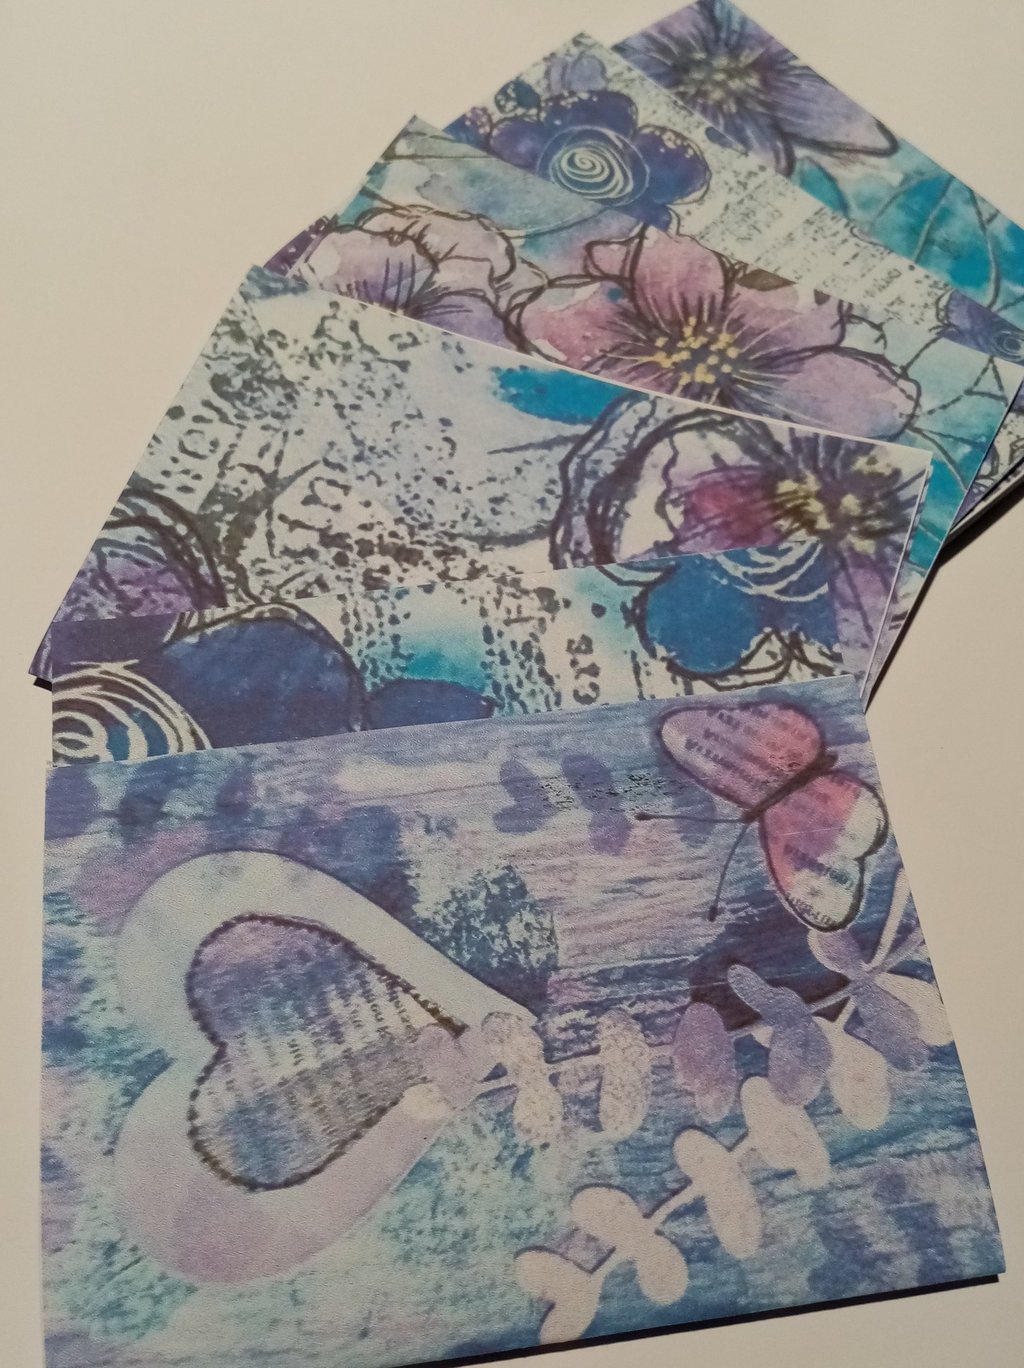
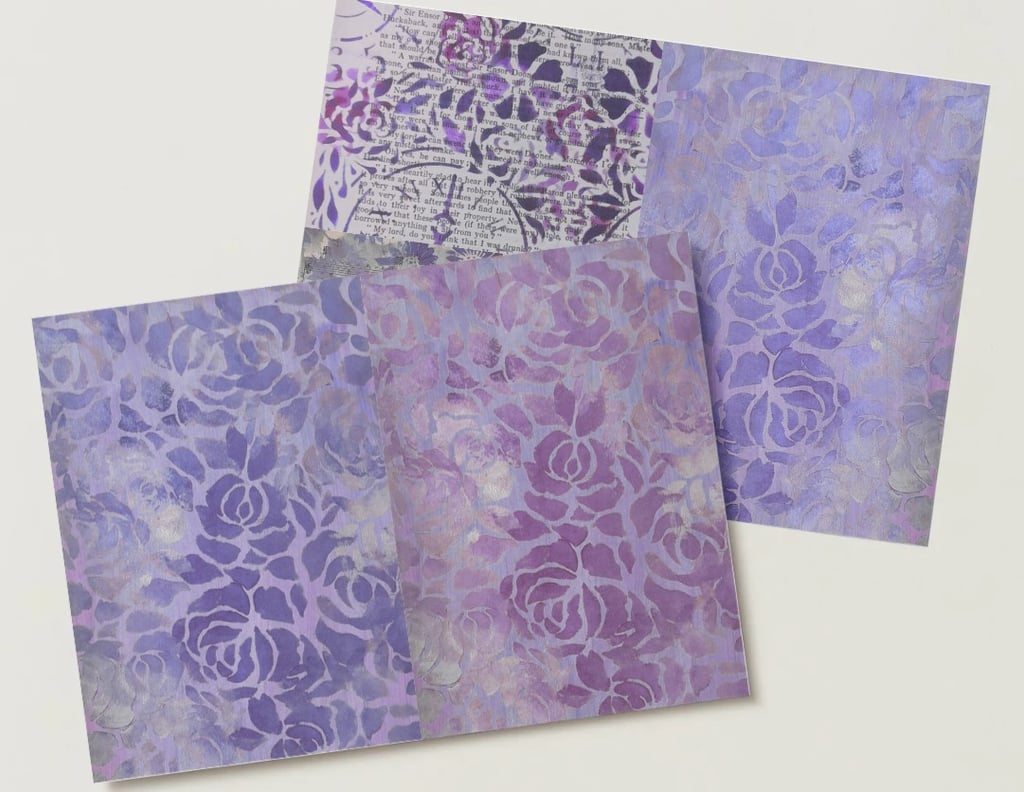
When you have printed and compiled your pages and decided on the amount of signatures to use in your journal, you can then create the cover
A signature is a collection of papers that you fold and bind together to create the inner pages of your journal
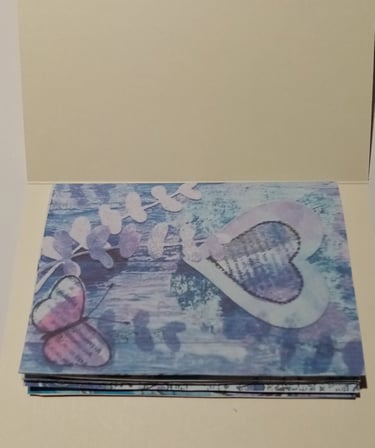
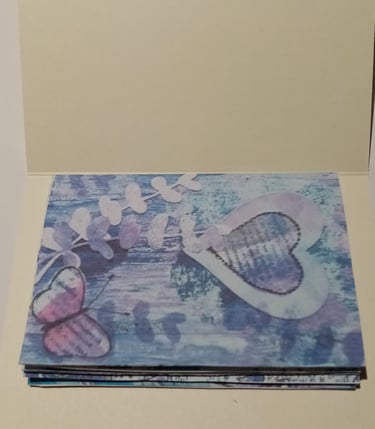
Multiple signatures will require a journal with a spine. If you are new to making journals you might prefer to begin with a single signature of 5-7 sheets (depending on the thickness of the paper), folding the design in half to create your pages. Use papers from your Tazi Creates kit and add in your own papers too to personalise your journal
Choose the design(s) you want to use as the journal cover and print.
Decide whether you want a single signature journal/notebook, which is good for a journal without bulky interior embellishments, or one with multiple signatures for a chunkier finished item.
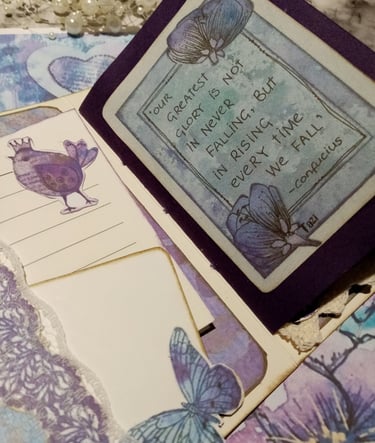
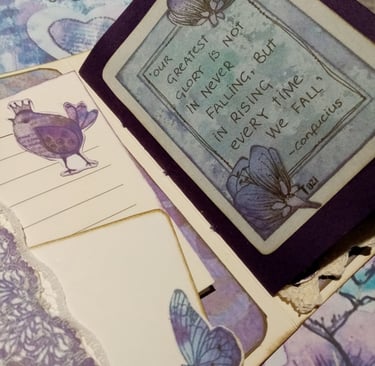
All images copyright ©Traci Ferguson
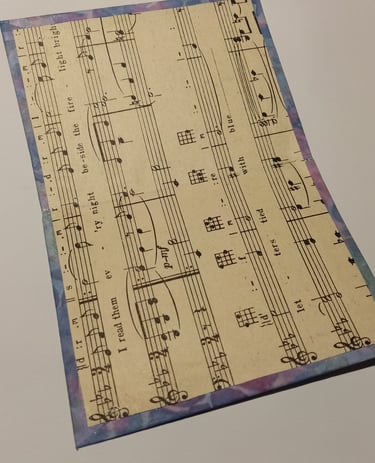
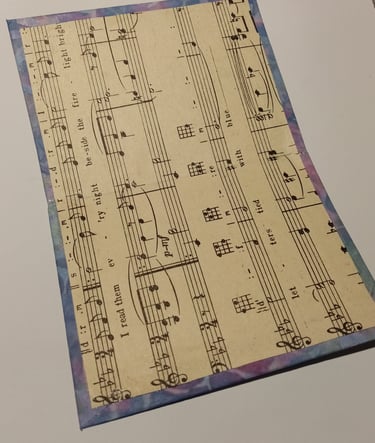
You can print some of the papers double sided. You can also print designs and choose an A4 backing from another range which complements your theme. If you choose to print single sided, you can then decorate the reverse side or leave it blank/glue in writing paper for journaling space
SEWING IN JOURNAL PAGES:
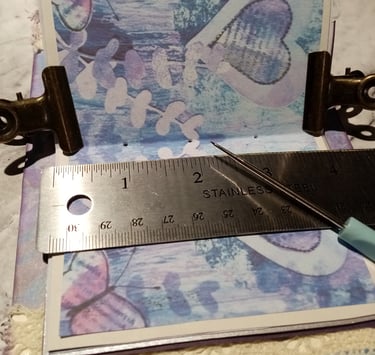
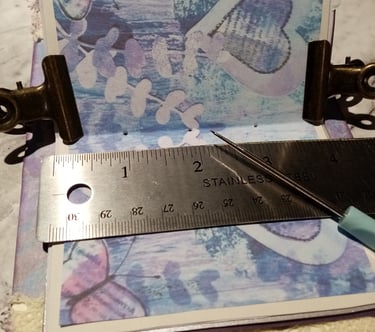
Mark three holes on the inside crease of the signature: one in the centre, and another evenly spaced on either side. Use an awl or another sharp ended tool to punch holes through the paper
Position the signature inside your cover, ensuring it is centred. Use the holes already punched in the signature as a guide to punch matching holes in the journal spine
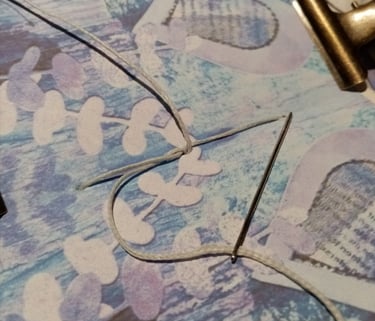
Sew using a 3-hole pamphlet stitch:
Use a needle threaded with waxed thread (approx 3 times the height of the journal). Waxed thread holds more securely without needing excessive tightening
Use paperclips or binder clips to keep your signature pages from moving while you are sewing them into the cover
Start from the inside centre hole to the outside
Pass the thread through the top hole from outside to inside
Go through the bottom hole from inside to outside
Go into the centre hole from the outside to the inside
Ensure the thread is taut and tie a secure knot. Trim ends if necessary
.
If you are doing multiple signatures, align them on the spine with a consistent gap. You may want to strengthen the spine to cope with the extra weight
JOURNAL COVER:
Use strong card or cardboard (cereal cardboard makes a great backing) for the base, cut to size and pre-crease the spine area
Cut your chosen paper slightly larger than the cover. Apply a strong glue to the cardboard and then position the paper, smoothing with a bone folder
Cut the corners, fold edges over and glue down to to finish, or trim flush if using thick card (or if preferred)
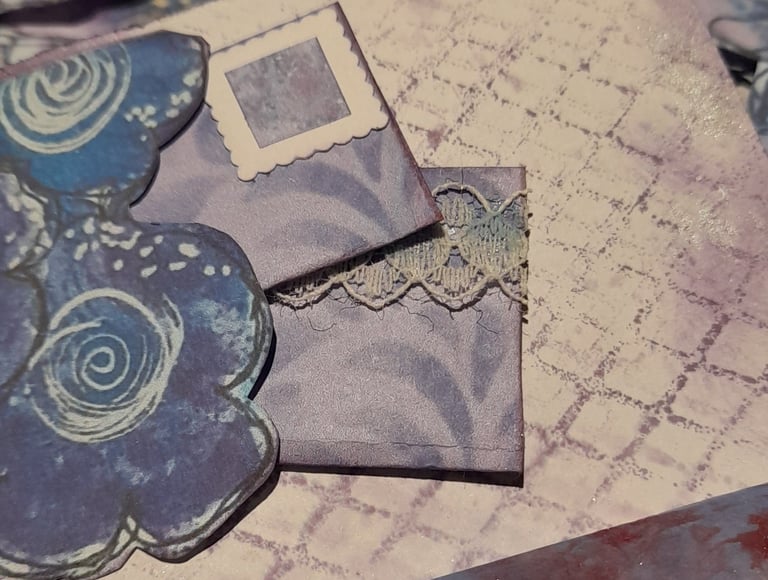



Get in touch
traci@tazicreates.com
All images copyright ©Traci Ferguson 2023-2026